05. Managing environments
Managing environments
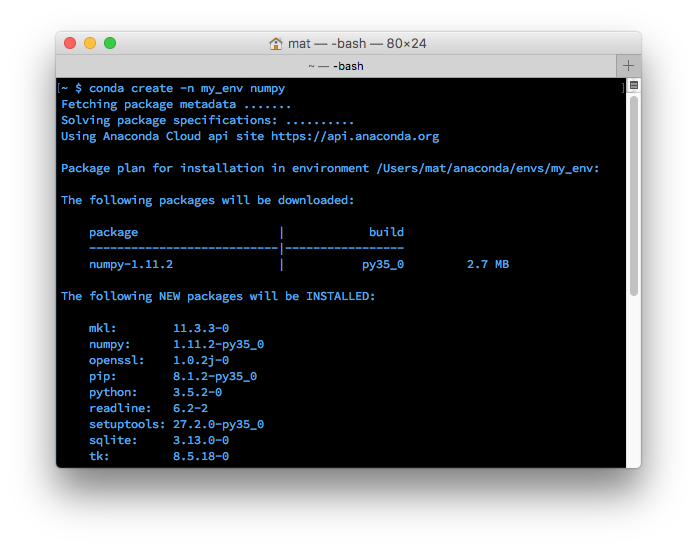
As I mentioned before, conda can be used to create environments to isolate your projects. To create an environment, use conda create -n env_name list of packages in your terminal. Here -n env_name sets the name of your environment (-n for name) and list of packages is the list of packages you want installed in the environment. For example, to create an environment named my_env and install numpy in it, type conda create -n my_env numpy.

When creating an environment, you can specify which version of Python to install in the environment. This is useful when you're working with code in both Python 2.x and Python 3.x. To create an environment with a specific Python version, do something like conda create -n py3 python=3 or conda create -n py2 python=2. I actually have both of these environments on my personal computer. I use them as general environments not tied to any specific project, but rather for general work with each Python version easily accessible. These commands will install the most recent version of Python 3 and 2, respectively. To install a specific version, use conda create -n py python=3.3 for Python 3.3.
Entering an environment
Once you have an environment created, use source activate my_env to enter it on OSX/Linux. On Windows, use activate my_env.
When you're in the environment, you'll see the environment name in the terminal prompt. Something like (my_env) ~ $. The environment has only a few packages installed by default, plus the ones you installed when creating it. You can check this out with conda list. Installing packages in the environment is the same as before: conda install package_name. Only this time, the specific packages you install will only be available when you're in the environment. To leave the environment, type source deactivate (on OSX/Linux). On Windows, use deactivate.
Create environment quiz